


新入荷再入荷


ビッグ割引 Daihatsu Launches the New Tanto Custom, Evolved to be Interior
 4.2
(62件)
4.2
(62件)
 タイムセール
終了まで
00
00
00
999円以上お買上げで送料無料(※)
999円以上お買上げで代引き手数料無料
999円以上お買上げで代引き手数料無料
通販と店舗では販売価格や税表示が異なる場合がございます。また店頭ではすでに品切れの場合もございます。予めご了承ください。


商品詳細情報
| 管理番号 | 新品 :2409447765 | 発売日 | 2025-07-03 09:23 | 定価 | 5690円 | 型番 | 2409447765 | ||
|---|---|---|---|---|---|---|---|---|---|
| カテゴリ | |||||||||
ビッグ割引 Daihatsu Launches the New Tanto Custom, Evolved to be Interior
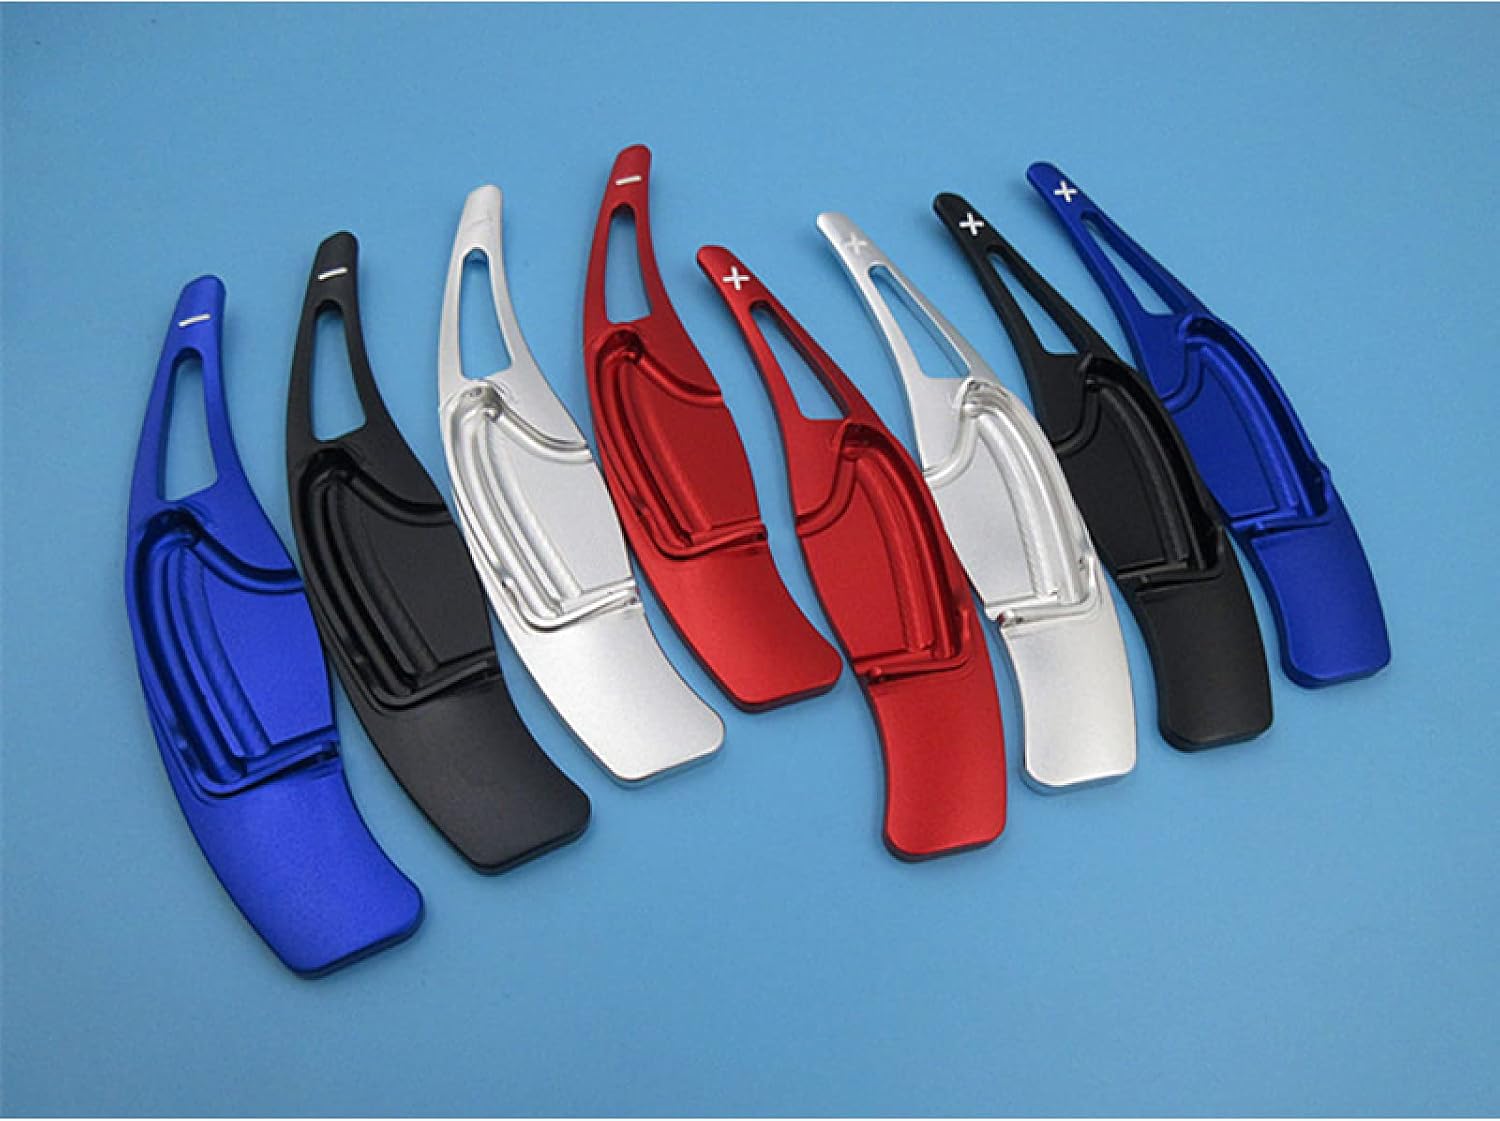
Daihatsu Launches the New Tanto Custom, Evolved to be,Daihatsu Launches the New Tanto Custom, Evolved to be,Amazon.co.jp: New Tanto Custom Tanto Fancloth Tanto Coustom,Amazon.co.jp: Daihatsu Tanto Custom / Tanto Fan Cloth,Amazon | 【Black Car】ダイハツ 新型 タント/タントカスタム- Compatible models: Daihatsu Tanto Custom, Front and Rear Year Support, Year: July 2019 - Tanto X Turbo "Selection" X "Special" L L (Smart Assisted Uninstalled Cars) Tant Custom, Custom RS "Selection" Custom X Custom X "Selection" Custom L ■Tanto Fan Cross; Year: 2022 From October Funko Cross Turbo Fancy Cross Subaru Chiffon/Chiffon Custom Year: July 2019 - Chiffon ■L Smart Assist G Smart Assist GS Smart Assist ■Chiffon Custom■Custom R Smart Assist Custom RS Smart Assist ※Compatible with all grades ※There may be cases where the shape may fit depending on the option and grade, so please check the product picture and compatibility before purchasing. Material: ABS resin; Color: Satin silver, piano black, carbon tone. Number of parts: 2 pcs. *There may be marks on the back of the product, and this does not indicate a quality problem
Tanto Tanto Coustom Tanto Funcross Rear Wind Switch Panel, Designed specifically for car models! Luxurious, dress up! It is a practical item that is easy to install. How to install: 1. Clean the dust and oil of the product and the installation body of the product. 2. Peel off a part of the double-sided tape and determine the installation position. 3. Peel and stick all double-sided tape. 4. Press and hold to prevent scratches. 5. Complete installation.
Interiorの製品


わんだらーの製品


